
Learn step-by-step how to setup WooCommerce Importer plug-in for WordPress. This tutorial assumes you have the latest version of WordPress already installed.
Why WooCommerce for an Affiliate Site?
WooCommerce is widely known as a way to power e-commerce websites, but it’s also ideal for building affiliate sites. Used on it’s own or in combination with affiliate tools like Datafeedr (which we’ll get into in a separate tutorial), WooCommerce allows you to sell External/Affiliate Products with ease. Below are the types of products you can sell using WooCommerce:
- Simple products
- Grouped products
- External/Affiliate products
- Variable products.
To get started, go to your WordPress dashboard > Plugins > Add new plug-in > WooCommerce Importer > Activate.
Run the WooCommerce Setup Wizard:
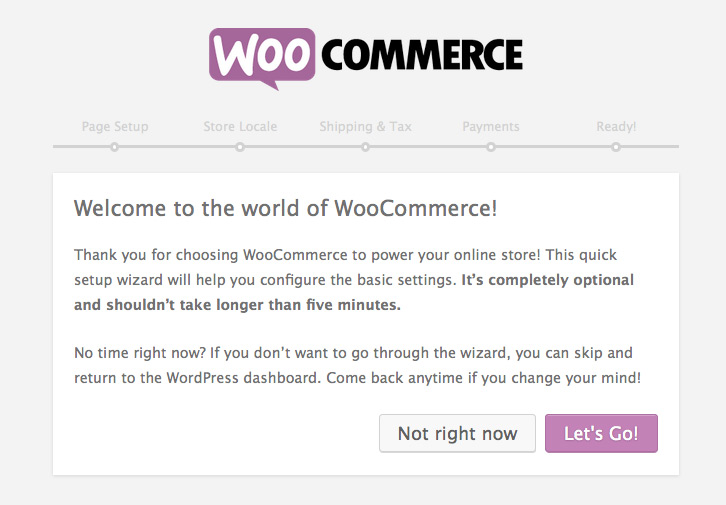
- To run the WooCommerce set up wizard click “Let’s Go.”
2. The first step is “Page Setup” where WooCommerce will create the necessary pages for your site including Shop, Cart, Checkout, My Account. Click “Continue” –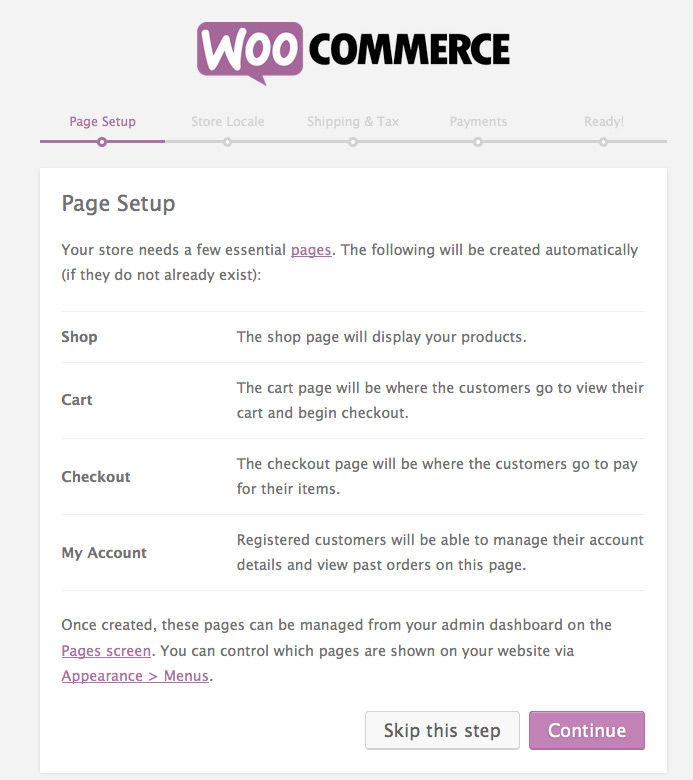
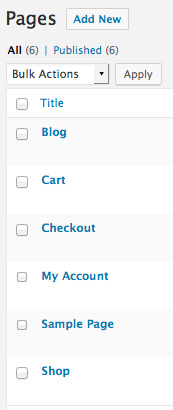
Once you do this, if you then go to Pages in your Dashboard you will see that the above pages (Shop, Cart, Checkout, My Account) have all been added as pages:
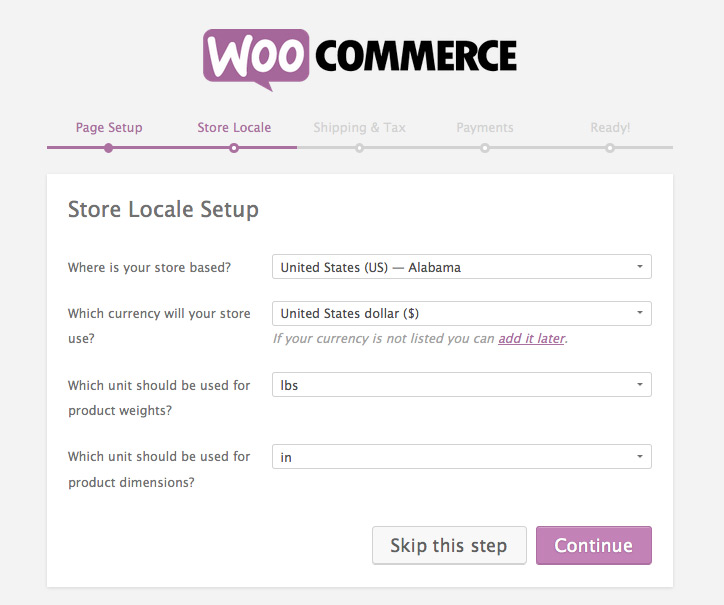
3. “Store Locale Setup” page is next – select your country/city, currency, weight unit (lbs), dimension units (in) – as this is for an affiliate site and we won’t be shipping anything you could skip it too.
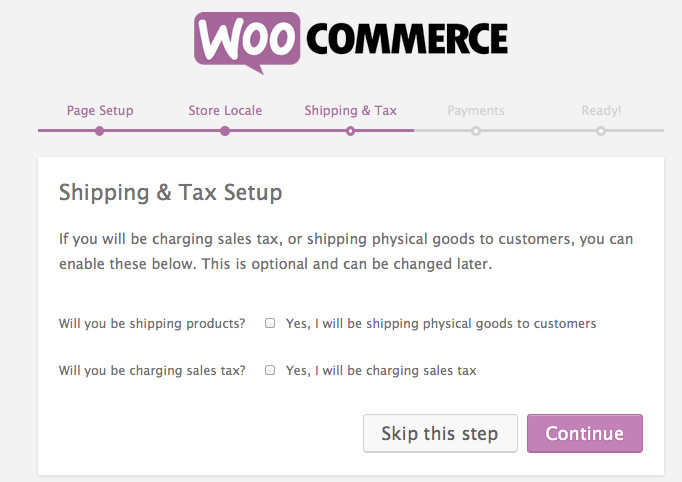
4.“Shipping and Tax Setup” – uncheck “will you be shipping products?” if this is an affiliate site.
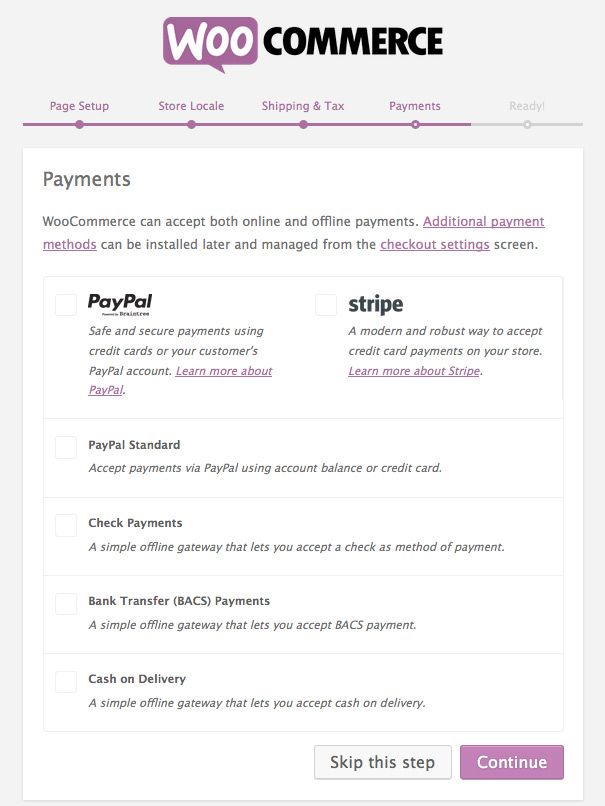
5. “Payments” – since this is an affiliate site and all our links will be taking the customer to the merchant site for purchase, we can go ahead and click “Continue”-
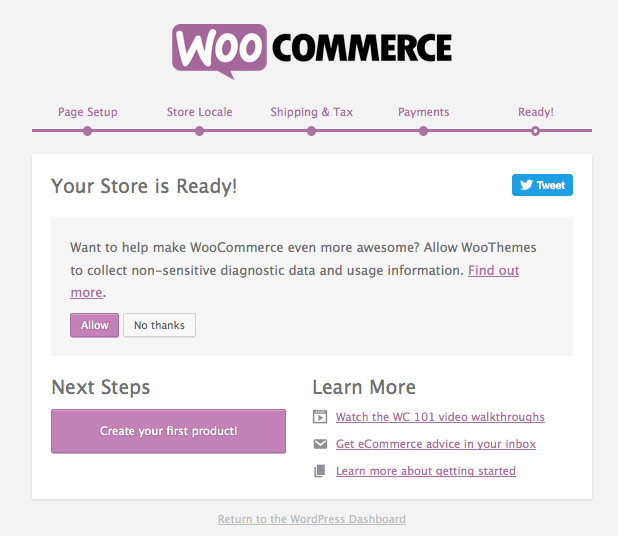
6.Congrats, Your WooCommerce store is ready. You can now move to the next step of creating product categories and adding products to your WooCommerce affiliate site.
This post may contain affiliate links. See our disclosure policy for more info.
Leave a Reply