
Congrats, now that you have successfully installed WooCommerce (see our How to Install WooCommerce Part 1) into your WordPress site, let’s get started adding product categories and products to your WooCommerce affiliate site. In this example I’ll demonstrate how to add an affiliate product from a Zazzle shop.
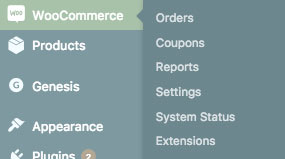
WooCommerce Dashboard Tab
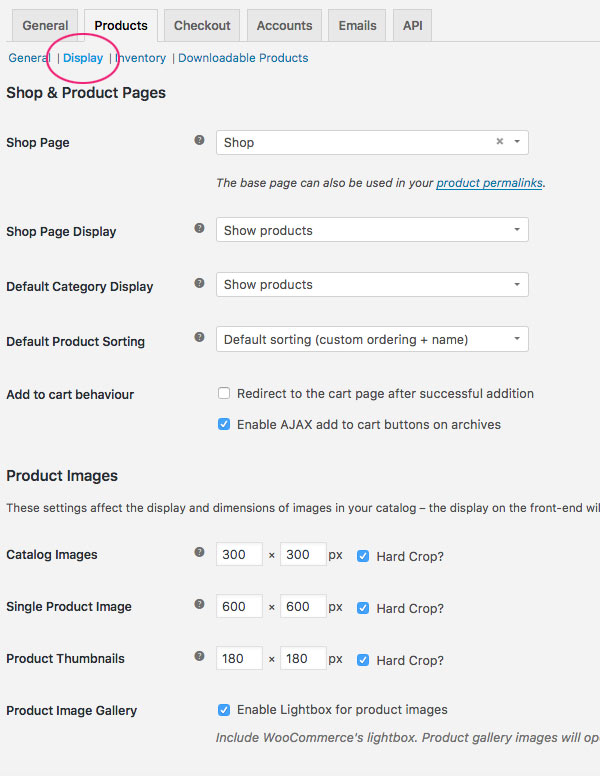
If you go to WooCommerce > Settings > Display, you can make selections on how you’d like products/categories to display.
On your dashboard you’ll see that in addition to the “WooCommerce” tab, there is also an associated WooCommerce “Products” tab.
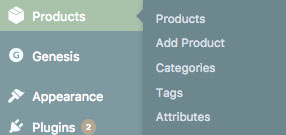
The Products tab is where you can view your products, add products and set categories.
Add Product Category in WooCommerce
First we’re going to add a category.
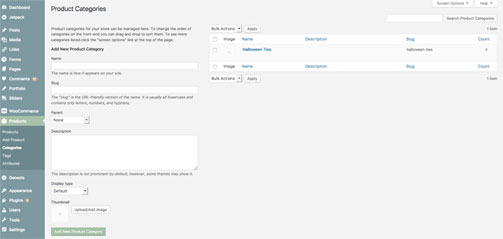
Select Products > Categories. To add a product category, fill out the following fields:
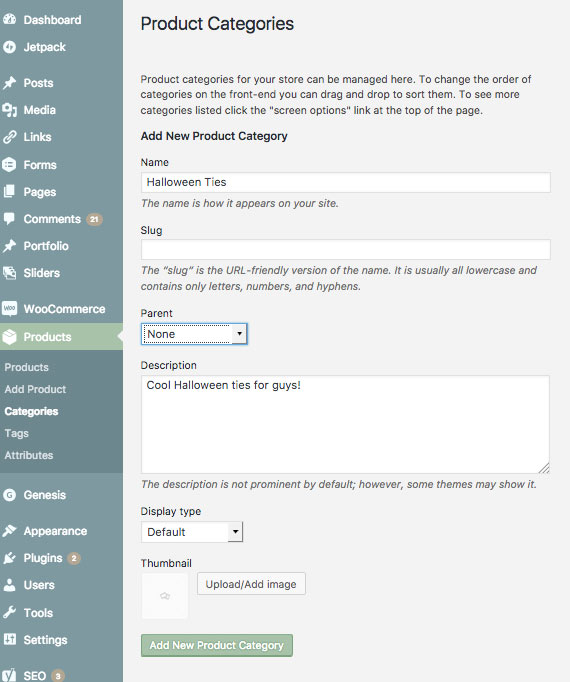
1. Name – in this example, “Halloween Ties”
2. Slug – the url trail which will display for this category – will be auto-filled after you save if you don’t specify a unique slug here.
3. Parent – If this is a subcategory of a parent category you would indicate so here.
4. Description- Fill this in for SEO
5. Display type – You can keep default setting or change to Products, Subcategories or Both.
6. Thumbnail – Upload image here if you like.
7. Click “Add New Product Category”
Your category has now been added, as you can see on the right side.

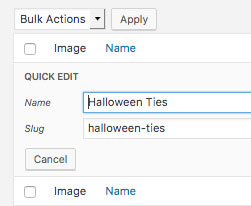
You’ll notice that if you click “Quick Edit” when you hover over the category name, that the slug field has been populated as “halloween-ties” even though we didn’t fill out the slug field.
You can also add categories at the same time you’re adding products, but I find it easier to add them first.
Add Affiliate Products in WooCommerce
Now that we have a category set, let’s add our first affiliate product to your WooCommerce affiliate site. Go to Products > Add Product. You will see the following fields:
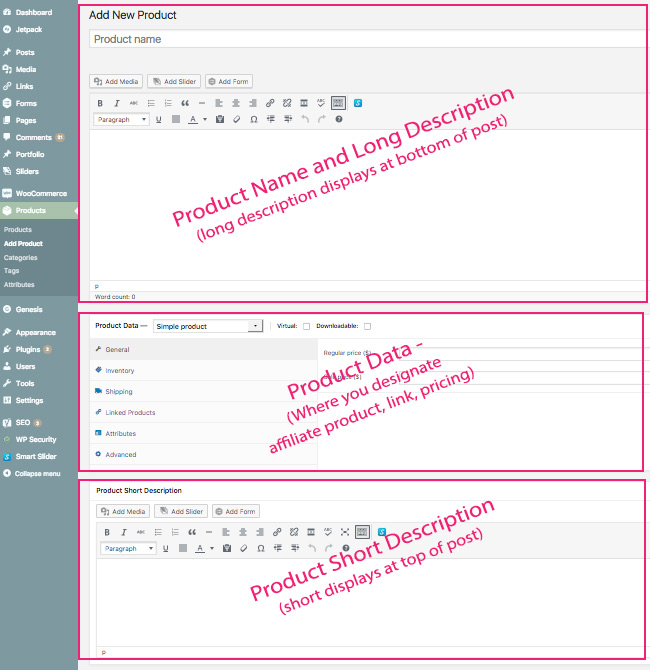
- Add Product Name
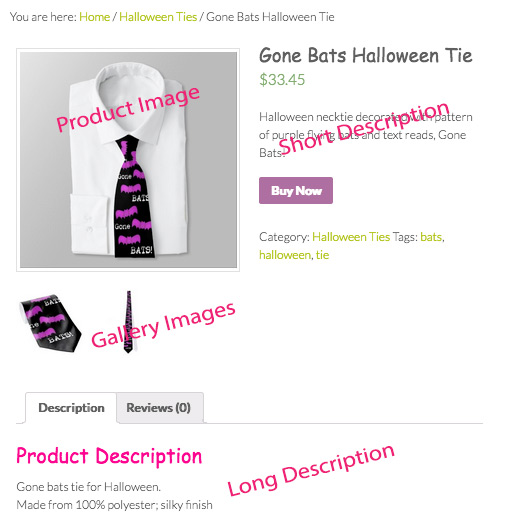
- Long Description – will display underneath featured image in description box.
- Short Description – will display along-side the featured image at top.
The middle section “Product Data” is where we will input the details of our affiliate product.

4. Add product url – with your affiliate tracking code
5. Input button text, the default is “Buy Now” but you can change it to “Details,” “See More” etc.
6. Product Price
7. Sale Price – if you input a sale price, WooCommerce allows you to schedule the dates that the item is on sale.

8. Select “Product Image”
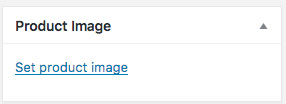
9. Select additional images in “Photo Gallery”

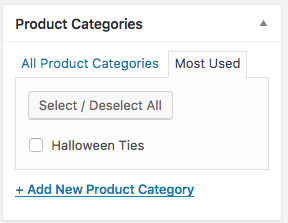
10. Select product category:
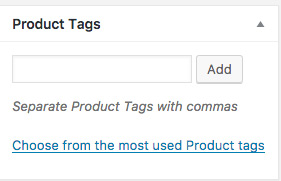
11. Add tags
Click “Publish” and your post should look something like this:
**IF, you see that your sidebar is displaying further down on the page after the content – as below – you’ll need to make one adjustment.
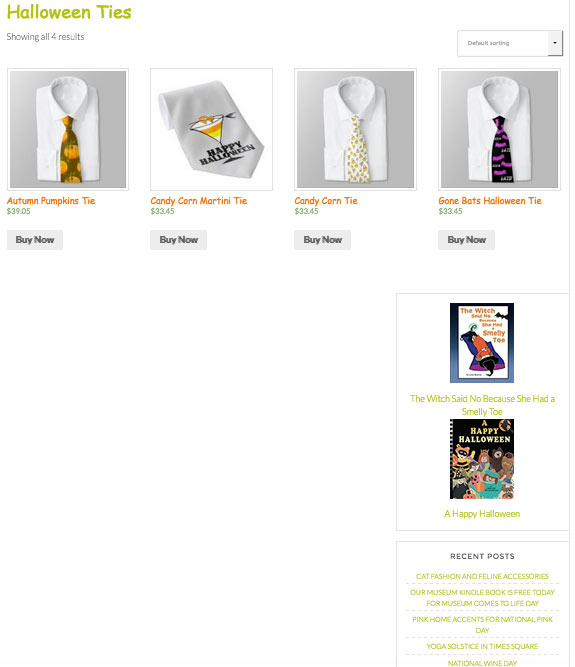
WooCommerce can cause layout issues with some themes, as is the case with my site, which is built on the Genesis Framework. Luckily, there’s a plug-in for that! So go to plug-ins and search and install the plug-in: Genesis Connect for WooCommerce. Voila! This should fix the layout issue and put the sidebar back where it belongs.**
You’re now on your way to building your WooCommerce affiliate site.
This post may contain affiliate links. See our disclosure policy for more info.
Leave a Reply